Original article: HUGO, start!
Foreword: This article will teach you how to start a hugo project at the speed of light, and host it for free on gitlab pages for everyone to access, just like the website you are seeing now.
Prepare an account
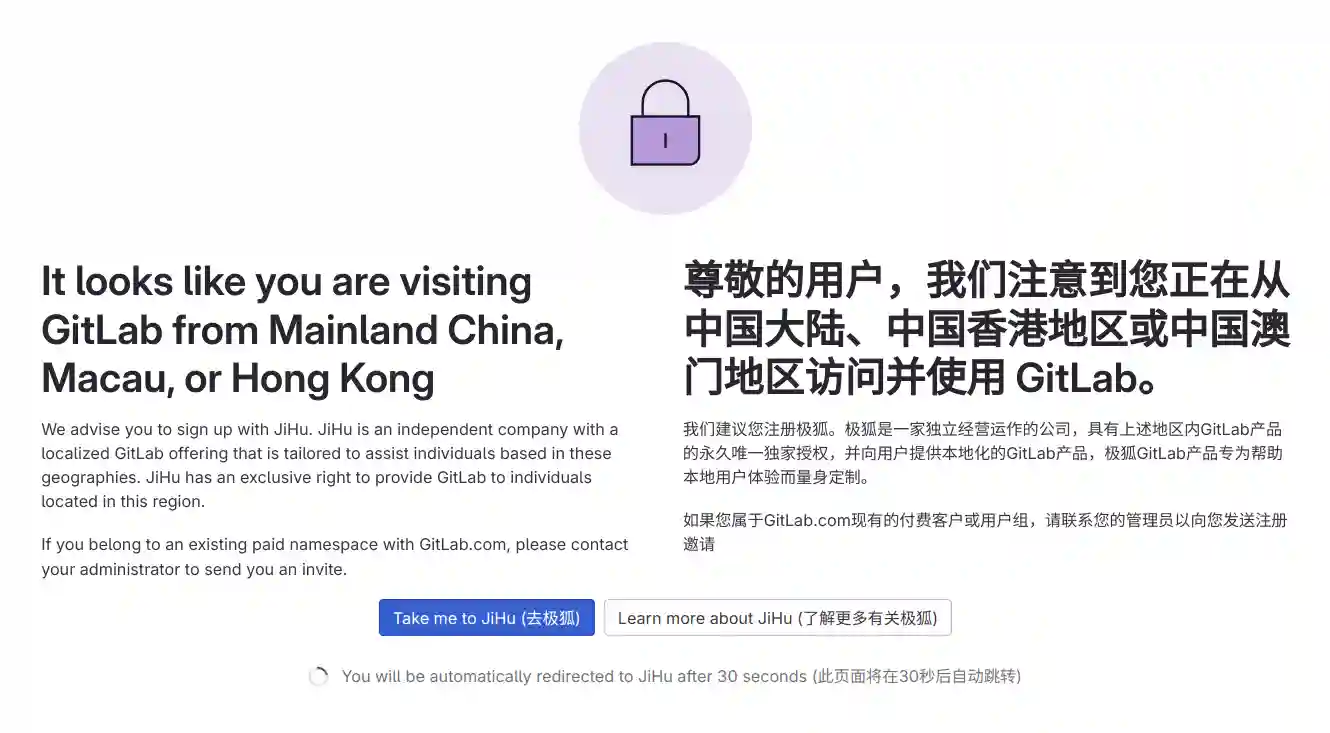
At present, what you need to prepare is very simple, just a gitlab account, if you don’t have one, you can click here to register one.
If you encounter this situation, you may need magic Internet access. The mainland-only version of Jihu does not provide pages service
After registration, you will be asked to fill in some information. When you fill in this step, you can deploy.
Pull and deploy
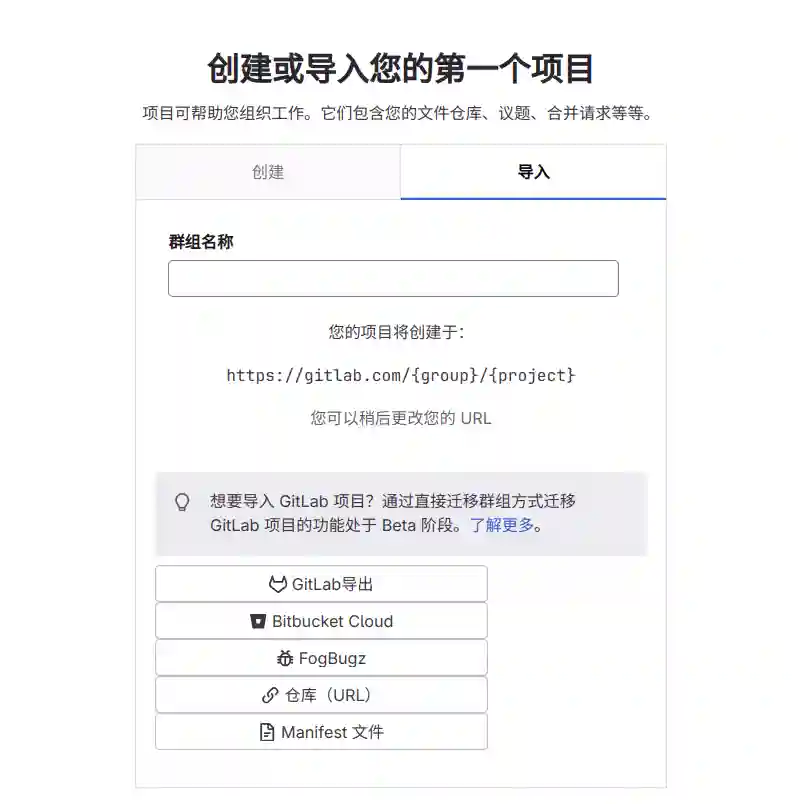
Create a project
Please give the group name a name you like, and then click the Warehouse (URL) button below.
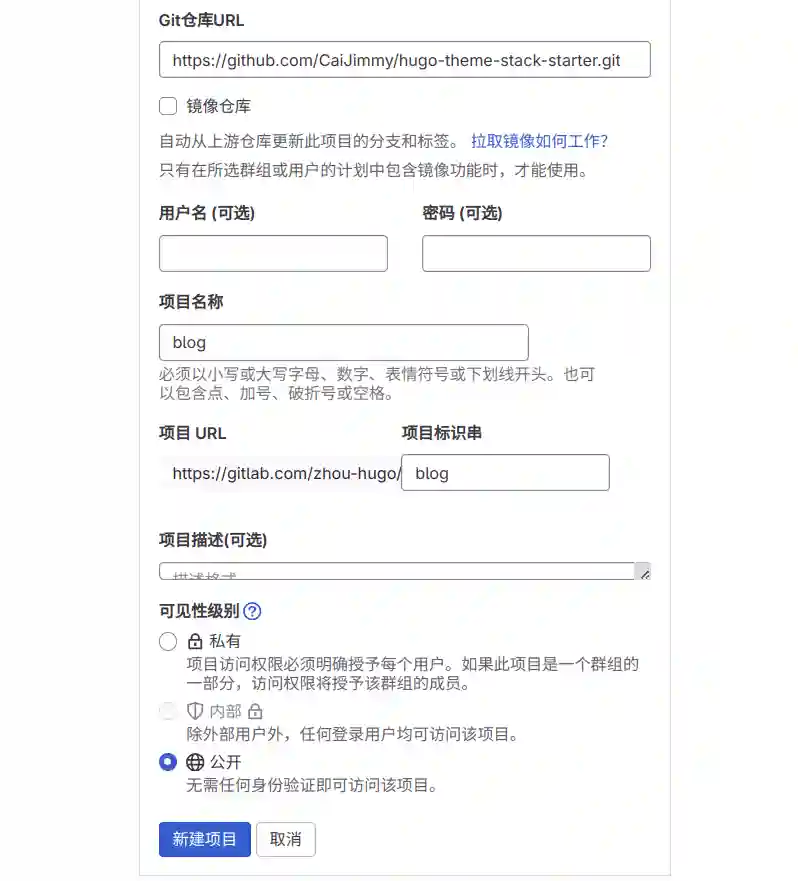
Next, scroll down and fill in https://github.com/CaiJimmy/hugo-theme-stack-starter.git in Git Repository URL
Project Name and Project Identifier are also names you like, and then Visibility Level selects ‘Public’,
Finally, click New Project
Start Project
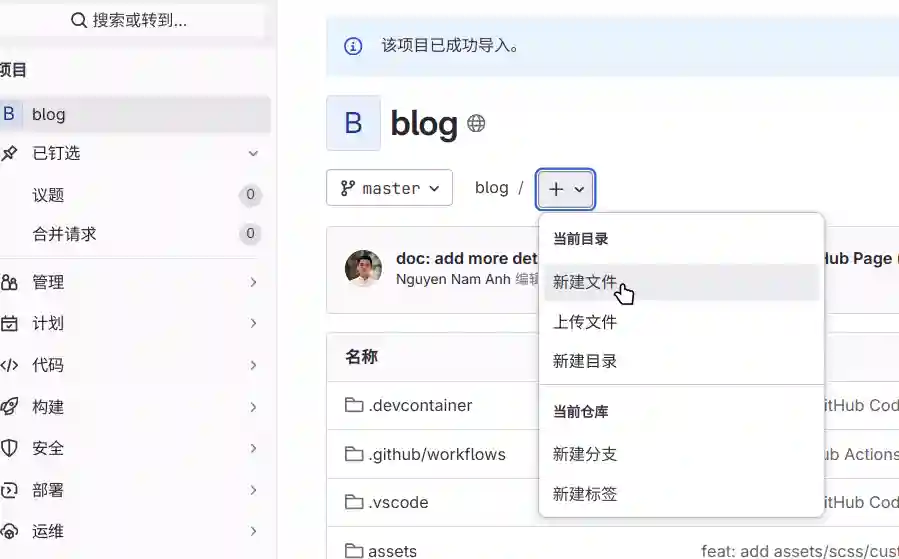
As shown in the figure, click + and then click New File, let’s create a new configuration file to start the gitlab pipeline.
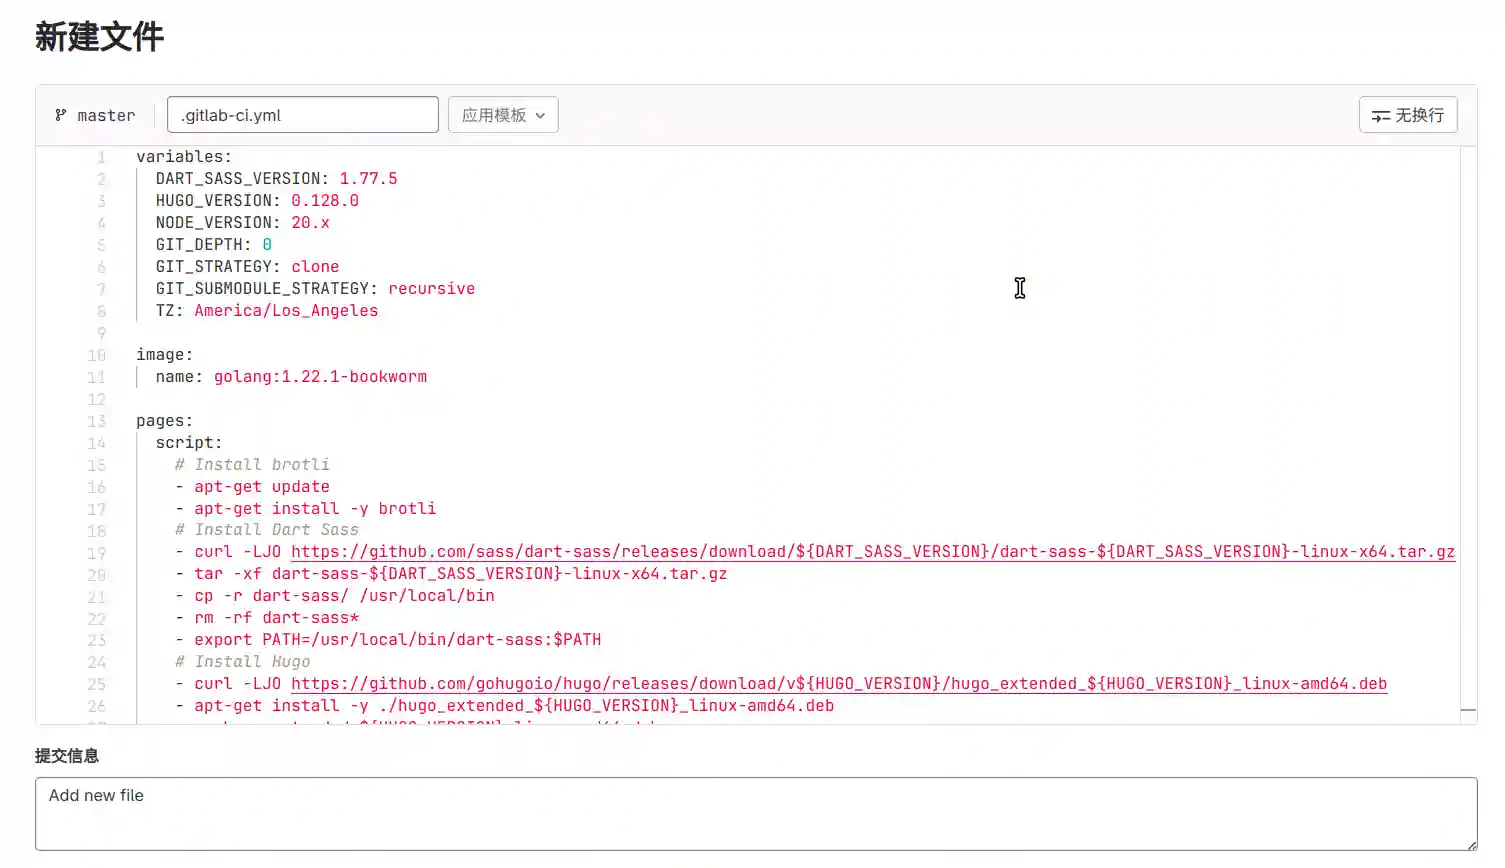
Fill in .gitlab-ci.yml in the file name.
Enter the following content in the text:
|
|
Then scroll down and select Submit changes.
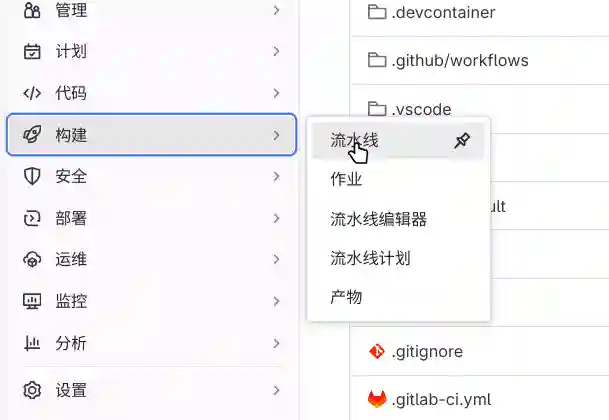
Next, we click Build, then click Pipeline, and you can see the project currently being built.
If you have just registered a gitlab account, you may be asked to verify your phone number. You need to prepare a non-mainland phone number to receive text messages.
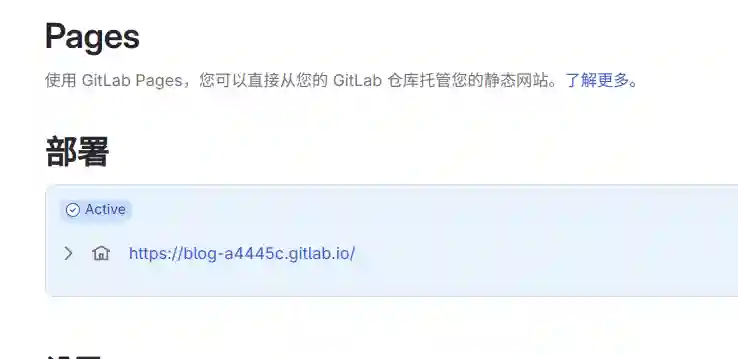
When the pipeline status changes to Passed, we click Deploy, then click Pages, and you can see the URL assigned by gitlab for us.
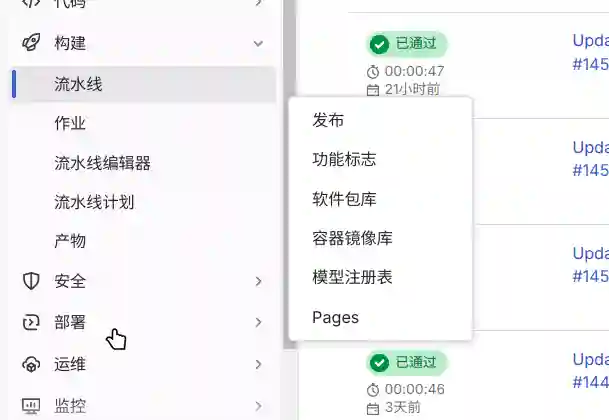
We click this link to open our website.
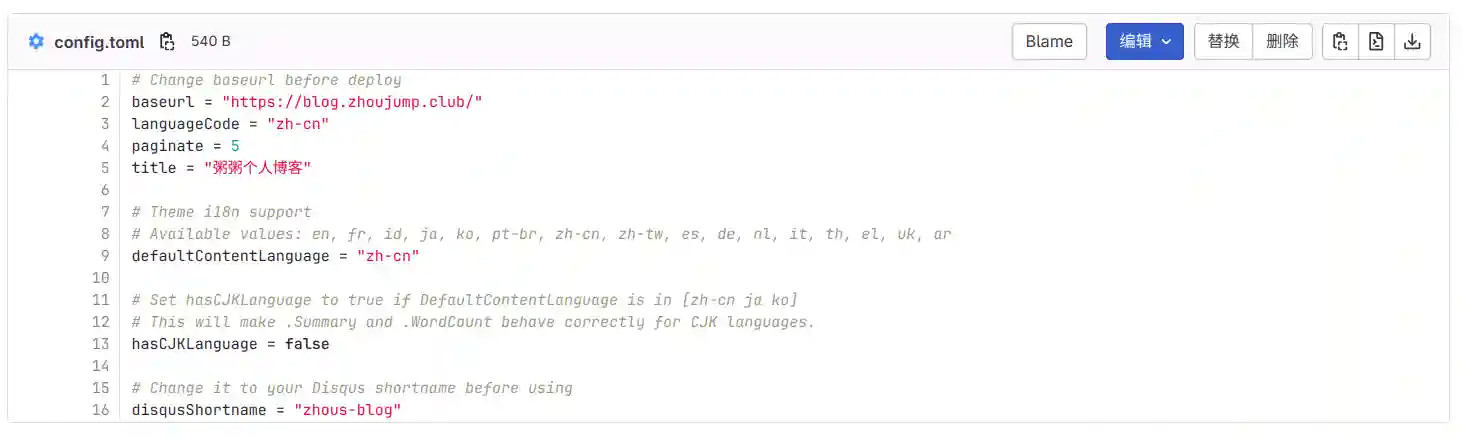
If the interface displays abnormally after opening, you need to go to the config/_default/config.toml file to modify some configurations and change the content in baseurl to the address assigned by gitlab in the previous step. After saving the file, wait for the pipeline to execute again, and then refresh the page, the website should be displayed normally.
Because I have bound a domain name here, I filled in the domain name. In the next article, I will teach you how to purchase and bind a domain name.